How To Tile A Bathroom Floor
Tiles come in a wide range of colours, sizes and materials, making them able to fit into any home and any space. In the bathroom, tiles can be of great benefit, as they are mostly immune to the water damage.
However, whilst they may make a great addition to your WC, it can be expensive to hire a professional to install them. Here, I’ll outline clearly and concisely how to tile a bathroom floor.

Set out the Tiles
The very first thing you must do is to find the centre point of the floor. This is where you will position your first tile, which, if done incorrectly, will ruin the positioning of all the others, so you have to do this with extreme care and accuracy.
To do this, use a tape measure and find the centre point from each wall and draw two lines across the room to show where this is. Once you have done this, position loose tiles along the lines you have drawn, working from the inside to the outside.
If you are happy that your tiles will fit into the room without having to be cut around the edges, mark the point where the central tile will go.
Apply Adhesive
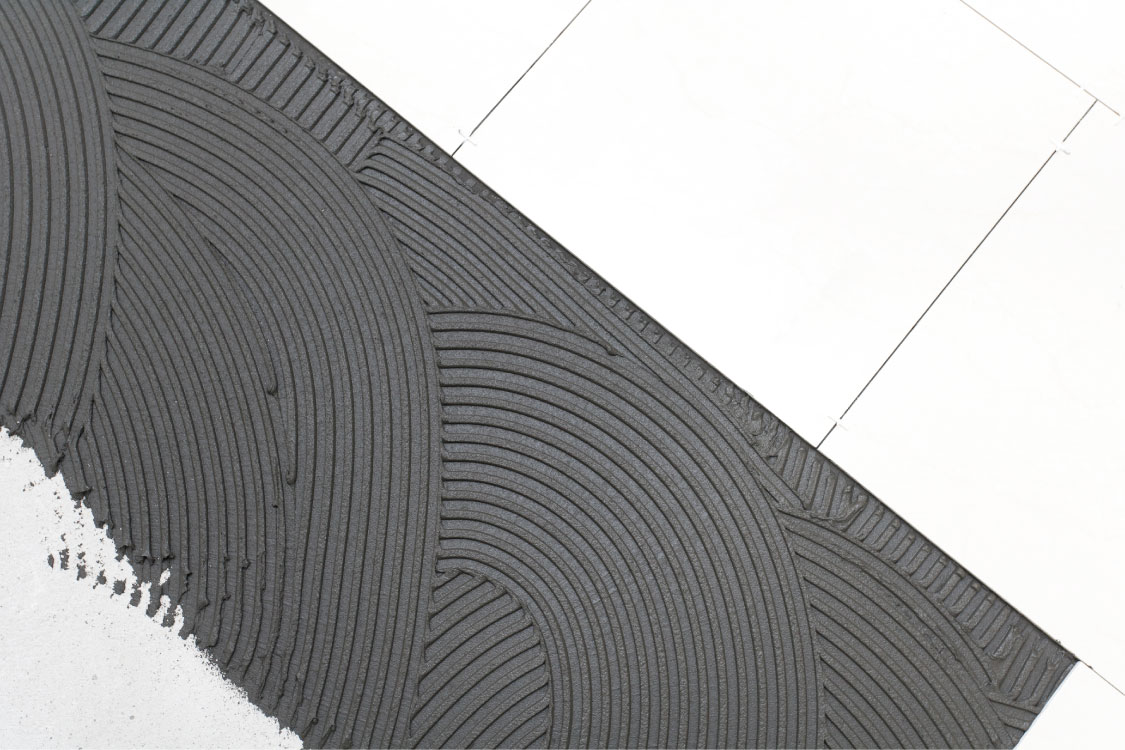
At this point, you can now start to apply adhesive to your bathroom floor. Using a notch spreader, smear the adhesive over the floor, ensuring that it is applied in even layers.
When doing this, you should only spread one metre at a time, as the adhesive may dry out before you can stick the tiles to the floor. By applying the tiles one metre at a time, you can fasten them to your bathroom floor whilst the adhesive is still wet. A great choice for adhesive is Gluegun’s line of epoxy glue, with a variety of types you’ll find a suitable one for floor tiles.
Lay Out Tiles
Now, get your first tile and attach it to the central point you marked out before. You can fasten it to the floor by pressing it down onto the wet adhesive and using a twisting motion to make sure that the entire tile is secure.
Once you have done that, put a spacer in between the tile and the area next to it where you will stick the next one. It is important that you place spacers in between each tile you lay out, as it ensures you have space left for grouting.
Continue these processes around the room until the entirety of your bathroom floor is tiled. Once the job is complete, leave your tiles to dry for at least 24 hours, so that the adhesive has time to set in.
Grouting
Once your adhesive is dry, you can begin to apply grout to your bathroom floor tiles. First, take away the spacers placed between the tiles and apply grout to the vacant spaces. Try to grout with clean lines and ensure that it is applied evenly to give your floor an attractive look.
Having done this, get a heavy, blunt object, like the straight edge of a mallet, and press the grout in, so that it fills any holes and makes it harder for water to get in. Once you have done this, simply leave the grout to dry for 24 hours and marvel at your sparkling new tiled bathroom floor.

