How to Paint Coving
When it comes to decorating a room, painting is often a necessary task.
While painting is normally fairly straightforward, painting ceilings or coving is considered more difficult.
However, this does not need to be the case.
By understanding the most effective way to paint coving, the job can be done easily and efficiently by even the most amateur DIYer.
In this article, we’ll outline how to properly paint coving, explaining the best techniques to do so.

What is coving?
Before we go into detail regarding the best ways to paint coving, it’s important to establish exactly what it is.
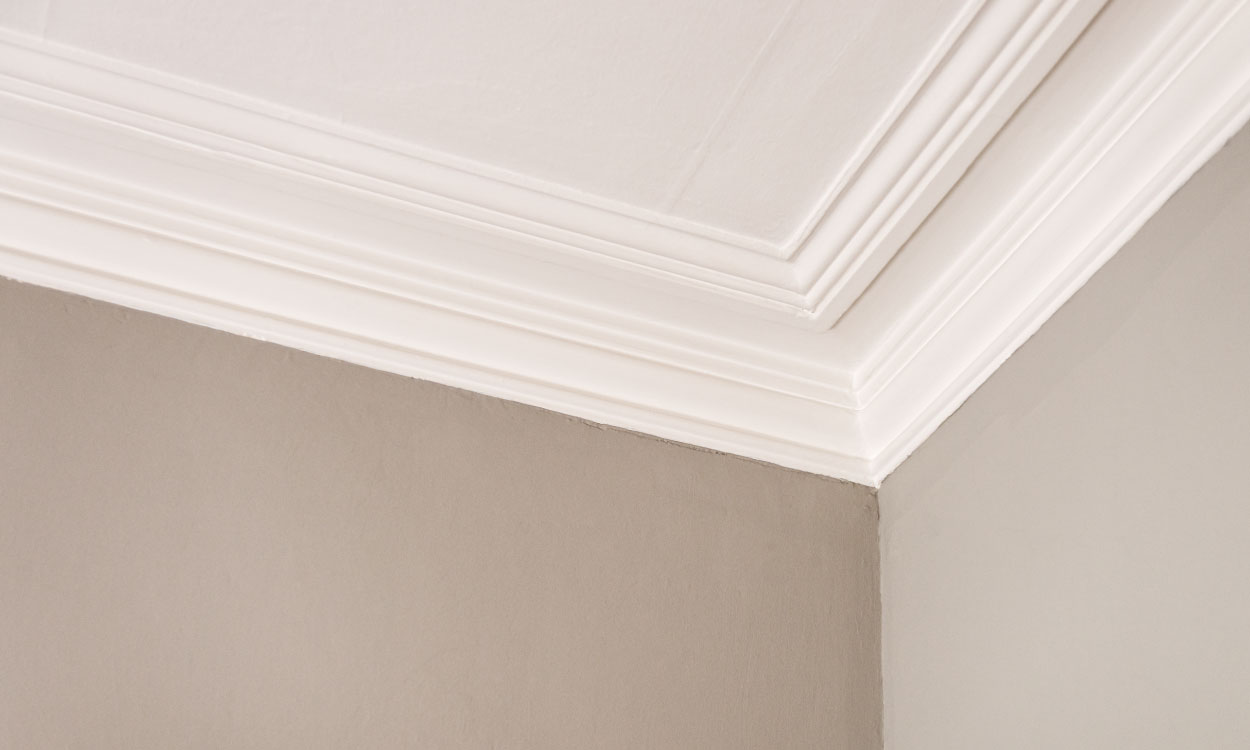
Coving, also sometimes referred to as a cornice, is a strip of material that creates a border between your ceiling and wall. Usually, coving will feature a decorative pattern that helps to enhance interior design, and there is a wide range of coving paint ideas that are used to elevate the style of a room or ceiling.
Coving is most commonly found in living rooms and bedrooms.
What paint should I use on coving?
Before getting your painting underway, it’s essential you know what type of paint you should be using on coving.
More often than not, coving will be painted an identical or closely matched colour to that of the ceiling. This is because the practical use of coving is to provide a joint between the ceiling and wall and people like the aesthetic to blend in.
However, in recent years, designers have become more experimental sometimes opting to use completely different colours and designs to create a more contemporary look.
People often make the common mistake of thinking gloss paint is the most appropriate choice for coving. This is because gloss is normally used on decorative trims and for detailing so people assume it should be used on coving, too.
However, gloss is better for wood and metal. Instead, you should use emulsion paint on coving, as it is superior when it comes to applying paint to walls and ceilings. Matt, silk, eggshell and other type of emulsion paints are all great for coving, and you should select an option that best suits your specifications.
How to paint coving
Once you’ve selected the type of paint you want to use, you’re ready to begin painting.
By following the steps below, you can rest assured that your coving will be painted in the most effective way.
Prepare the room
Before you begin, it’s important to prepare the rest of the room to ensure nothing becomes stained or damaged during the painting process.
To do this, you can remove furniture and other large objects from the room or cover them with drop cloths. Lay down an additional sheet on the ground to protect the carpet and other types of flooring.
You can also dust the coving, making sure to remove any dirt or debris to ensure the paint adheres correctly when applied.
Apply tape
If you’re an inexperienced painter or simply want to make sure the paint is as neat as possible, you can also apply tape as part of the preparation stage. You can use masking tape or masking film to do this.
Carefully apply the tape along the edges of the walls and ceiling where they meet the coving. This will help create clean, straight lines and prevent paint from getting on adjacent surfaces.
The tape might not be necessary if you’re intending on painting the ceiling at the same time, especially if you’re painting it the same colour. This is because it will not matter if any paint gets onto the other surface.
Apply primer
If this is the first time you’ve painted coving, then it’s a good idea to apply primer before painting in order to ensure the paint adheres correctly.
One coat of primer should be enough, but be sure to apply a thin layer that will provide you with a solid base for your paint.
Paint the coving
Now, you can begin painting the coving.
Use a synthetic paint brush that is of an appropriate size that will allow you to get into all of the nooks and crannies of the coving.
Start from the edge of the coving, working towards the middle. Apply the paint evenly, working in small sections at a time and ensuring a smooth finish.
It might be worth applying a second coat once the first has dried. If you’re planning on doing this, make sure the second coat is thicker than the first but maintains an even finish.
Caulk if necessary
This step is optional, but if you notice any gaps between the coving and the wall or ceiling you can use caulk to fill the gaps. If you want to give the coving another lick of paint after doing this, make sure the caulk has dried.
Remove the tape and cleanup
Once you’re satisfied with your work and the paint is dry to touch, you can start the final steps. Carefully remove the tape by pulling it slowly, and at a slight angle to avoid peeling off any fresh paint.
After this, you can inspect the coving for any missed spots or uneven areas. Touch up these areas as required and clean up any spills with soap and water.

