Herringbone Flooring 101: 9 Installation Tips To Remember
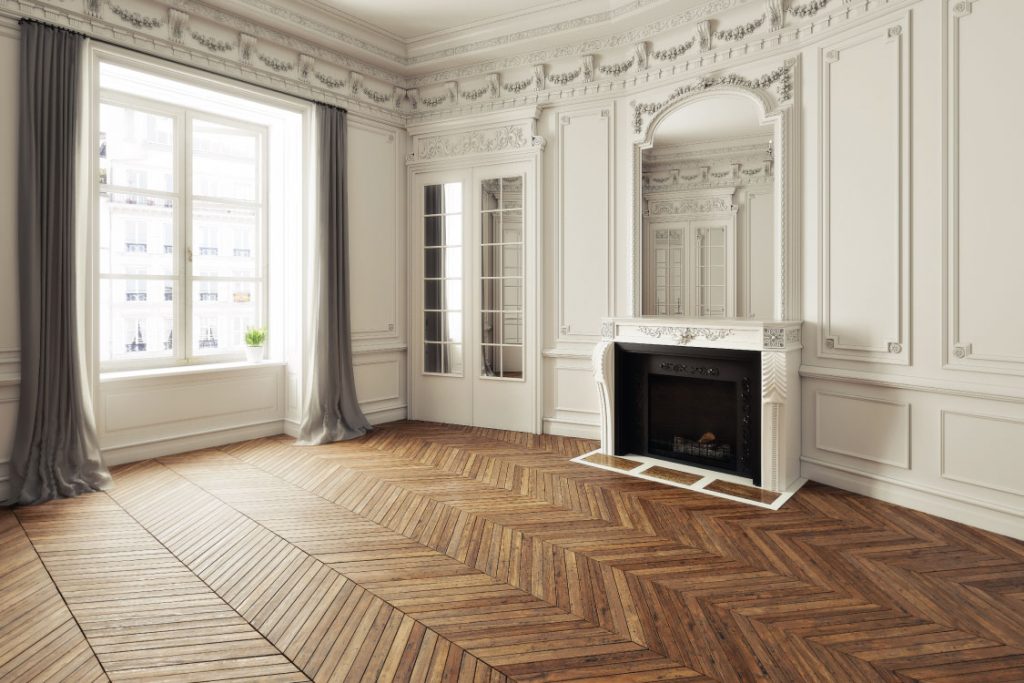
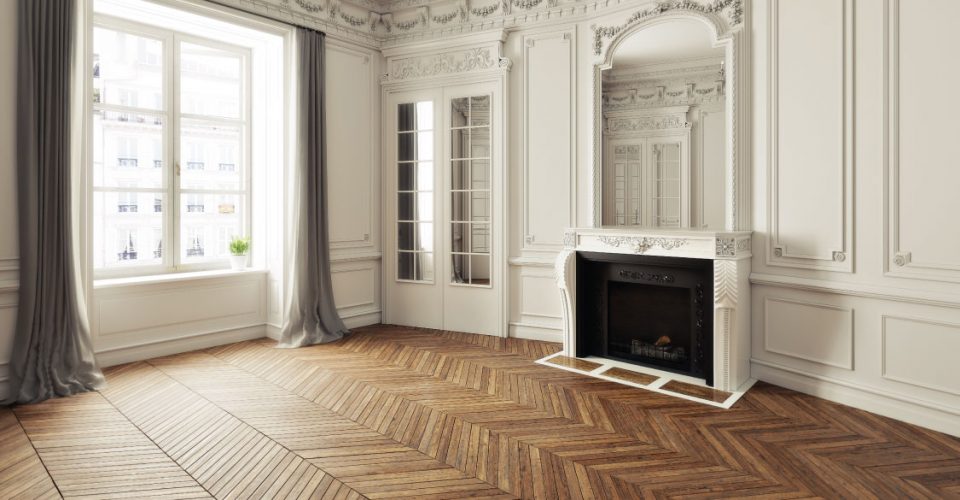
There is flooring intended to be stepped on and flooring meant to be admired as art. Herringbone flooring skirts the boundary between these two different kinds of flooring. This floor option has become a popular choice among those who appreciate high-quality patterns, as its zigzag style lays out a feast for the eyes. Despite the complexity of DIY installation, this type of flooring can elevate any room, making it worth the effort. Want to make sure your floor installation is successful? Here are a few tips to help you out.

Choose The Correct Flooring Material
Due to the flexibility of this flooring option, you get many options to choose from. Hardwood is a popular choice for this design because it is relatively easy to install, and it can look stunning without any staining or finishing. The quality sheen that hardwood flooring provides can also stand the test of time. If you want to pick a more out-of-the-box material choice, consider going for bamboo flooring, which is more affordable, but also known for being durable.
Make Sure You Have All The Tools And Supplies
Make sure you are equipped with the right tools and materials needed to install a herringbone wood floor. Before beginning the job, make sure you have the following items in your inventory:
- Cutting saw, circular.
- Chalk line tool
- Router
- Floor border strip
- One spare plywood
- Squares for rafters
- Splines for flooring
- Mallet made of rubber.
- Glue for wood
- Measuring tape
- Floor Nailer
- Bolts and screws
- Painter’s tape and flooring nails.
Make Sure You Prepare The Subfloor
It would be best to spend ample time preparing the area before you begin installing the herringbone design pattern. Double-checking and ensuring that the subfloor is entirely level and in good condition is crucial. If you do not prepare the site before the layout, you could end up with an uneven floor surface which can be difficult to fix.
Find The Centre Of The Room
Using a tape measure, find and mark the center of the room once you are ready to begin the installation. You can use chalk to create a line that runs from one wall to the other through the center of the room. Because the herringbone design won’t cover every inch of floor space, you’ll need to layout the rectangular field in a way that accommodates it. You can use the tape measure and chalk to establish the room and floor borders.
Cut The Flooring Slats
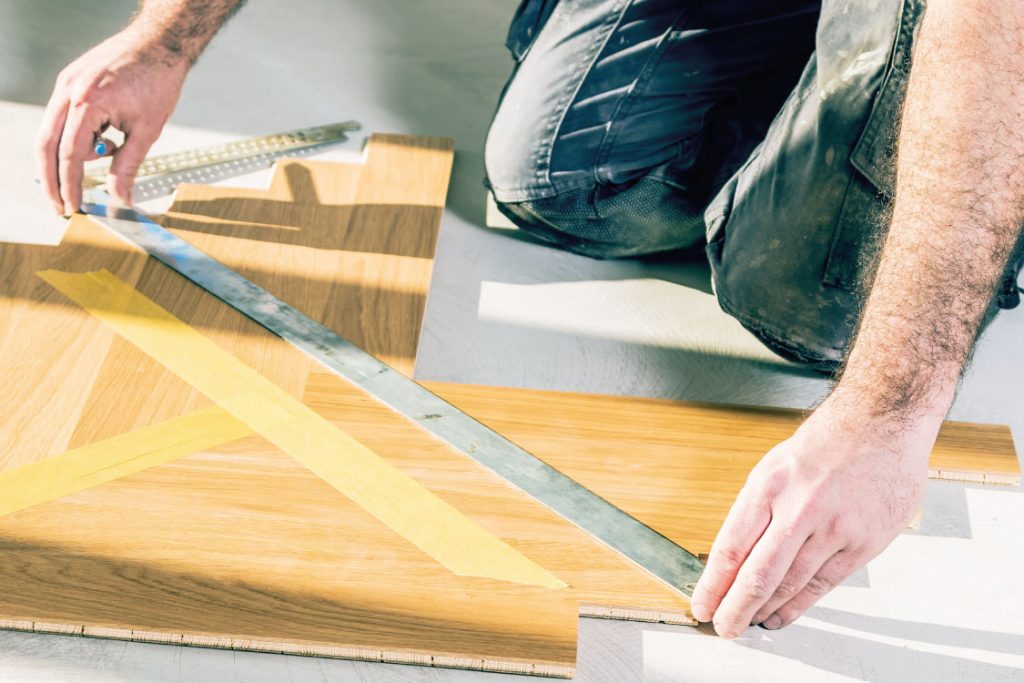
Incorporate rafter squares that keep slats at 90-degree angles into your design layout to get the optimal slat length. Using a circular saw, you can cut the slats to the exact measurements. You will then be able to add grooves to each slat so they can easily fit into one another. If the design requires multiple trimmings, the slants may be trimmed more than once.

Set A Nailing Blank
You will have to use a nailing blank as a template when installing the flooring. Make one by turning 3/4-inch plywood into a triangle. The two sides of the triangle should correspond to the flooring dimensions. A centerline can be drawn in the middle of the nailing blank and positioned in the middle of the blank. Once screwed into the subfloor, you can use the router to create grooves along the edges.
Secure The Flooring
Align the first slat with the nailing blank. Place the second slat to overlap the first while still lined up with the nailing blank. After that, you can drive each nail a few inches into the first slat using your floor nailer. Repeat this for every next slat.
As you make a herringbone pattern, position two slats until you reach the border. Afterward, remove the nailing blank and turn it so that its flat side faces the opposite edge. Install it into the subfloor by screwing it neatly into the tongue of the slat. Do this until you reach a border, then repeat.
Make Sure You Fill In Empty Slots
To add flooring spline to each open groove, you can use wood glue. As you follow the herringbone pattern, nail the extra slots into place until all spaces are filled. You may have left a few empty triangles in your nailing blank, so double-check your work and fill in those spaces.
Add-In Some Borders
Last but not least, you have to add borders around the herringbone flooring design. Using the flooring Nailer, you can place a decorative border strip. You can use your router to create grooves around the sides of the floor and then use wood glue to attach the flooring splines into each separate track. Now once all the hard work is complete, you can admire your hard work.
Conclusion
Herringbone flooring has a timeless pattern that exudes charm and character and can elevate any room. As long as you follow the tips listed above, you will do an outstanding DIY installation job. The finished product will leave your room feeling and looking decadently classy—a welcoming space for entertaining guests and residents alike.

