How To Bleed A Radiator
With winter creeping up on us, keeping your heating in top condition is very important. Many people won’t even turn on their central heating until the winter, and there’s nothing pleasant about turning it on when you finally need it to discover your radiators aren’t working properly.
The typical culprit of a radiator not working correctly is trapped air. When air becomes trapped it means that the water is not circulating around the radiator correctly, resulting in the bottom heating up the top half of the radiator remaining cold. If this happens you will normally need to bleed the radiator to let the air escape.
So now you have 2 options, call in a plumber, or have a go yourself.

Bleeding a radiator
It’s usually a very simple DIY task and the following steps will help you bleed your radiator correctly.
First you need to locate the bleed screws. These are typically positioned at the top of the radiator on each end, though they can be on the back as well.
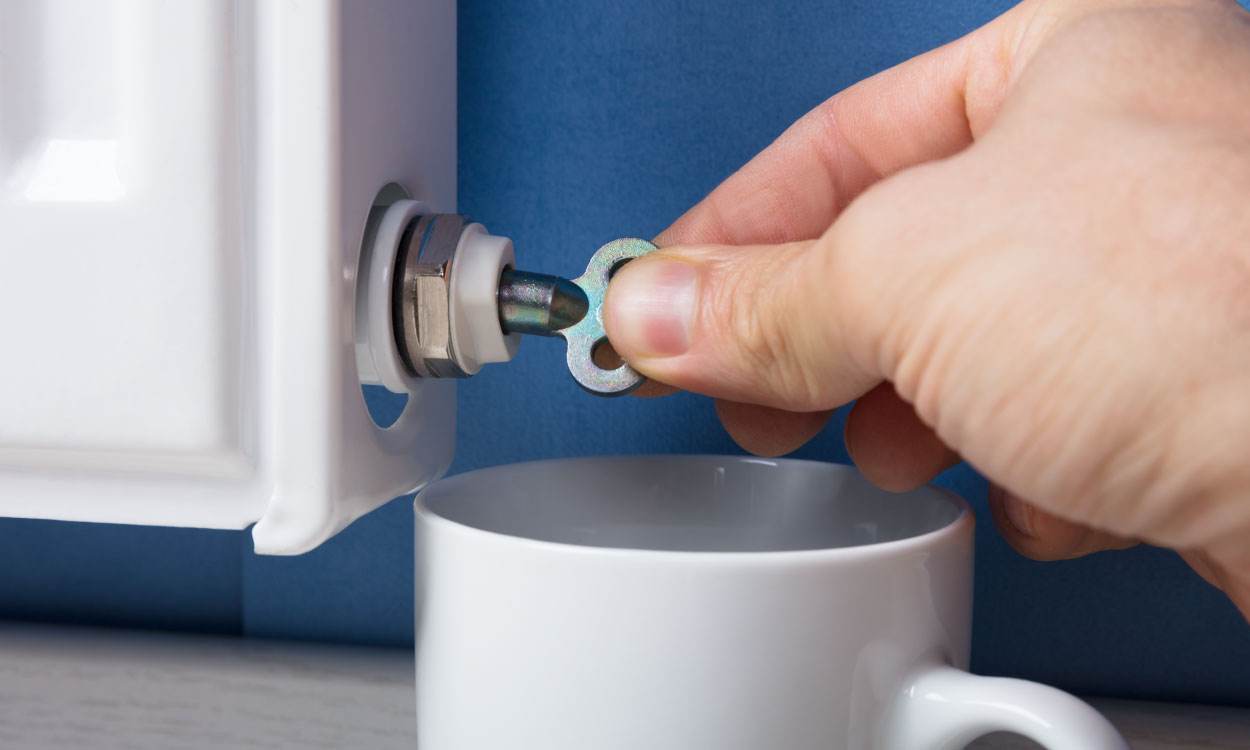
These screws are unlocked with a special radiator bleed key, which is designed to fit the screws perfectly; radiator keys are normally made of soft metals to stop damage to the screws. If the screws are damaged and the key no longer fits (or you lose the key) most screws can be loosened with a spanner as well, but it is always best to use the key where possible.
Once you are ready ensure the central heating is turned off; if you don’t it can cause more air to be introduced into the system (not to mention the fact the water and steam that can escape could be very hot!).
If you have a header tank ensure that the water supply is not isolated to it! If you have a boiler which requires manually topping up such as a combi-boiler, then top it up after and possibly during bleeding (depending on how much pressure there is left in the system). We will cover topping up a boiler in a subsequent article.
Open both of the valves at the bottom of the radiator, then use the radiator bleed key to open the bleed screws. Ensure you have a towel or cloth ready to catch any drips from the bleed screws and turn the key anti-clockwise; you don’t have to turn it much, about half a turn will suffice.
You should hear hissing as the air is forced from the radiator. As soon as water is squirted through the bleed screw, re-tighten it and ensure it is not leaking (making sure to catch the drips as radiator fluid is not pleasant). If all is well, you’ve just successfully bled your radiator and it will fill and circulate properly. Close the valves as required and if necessary move onto your next radiator.
It is important to note that the air could be in your pipes and not the radiator, this is easy to check as the radiator will be cold but so will the pipe going into it. Bleeding can solve this, but not always.
One option is to flush the central heating system by turning off all the other radiators apart from the one the affected pipe goes into. This will force the water into just this pipe and radiator and the pressure can sometimes disperse the air or push it into the radiator (then simply follow up with a bleed if it hasn’t dispersed).
Of course sometimes you just have to bite the bullet and call a plumber, but at least you have the option of trying it yourself.

