What is a Concrete Slump Test and Why is it Important?
Concrete can be made using a variety of different ratios of materials, depending on the intended use of the mix, or concrete application. It’s important that concrete meets certain standards, and that multiple batches of concrete being used in the same project have a consistent structure. There’s a simple test for this that can be performed before concrete is poured, this is referred to as a concrete slump test.

What is a concrete slump test?
A concrete slump test involves testing the concrete consistency, to see how it holds together. The results can be observed by looking at the shape of a carefully compacted cone of concrete, after the mould used to make it has been removed. Measurements can also be taken to check that the slump of the mix meets European standards (BS 8500), based on the concrete slump range for its intended use.
Why do a concrete slump test?
The ratio of water to cement can be changed in a concrete mix, depending on the requirements of the project. If you require a more workable and flowing mix, more water and more cement will need to be added in the correct proportions. Having the right amount of cement makes sure that the concrete will still reach its target strength once cured. A concrete slump test is one of the ways to check the quality and suitability of a mix, by ensuring the water to cement ratio is correct.
Performing a concrete slump test will also provide the opportunity to identify any defects and amend them before the concrete is poured.
How to do a slump test
There are six key stages to a slump test. To perform an accurate test a slump cone, steel rod, and a measuring stick will be required.
- Place the slump cone on a smooth, flat surface. A slump cone has footholds on each side, which you can stand on to make sure it is stable and secure.
- Fill the slump cone with your concrete mix in three layers. Each layer needs to be uniformly tamped with a steel tamping rod 25 times. The final layer should be filled exactly to the top of the cone.
- Once filled, any overflowing concrete should be removed from the top and the base of the slump cone.
- In a slow and controlled vertical motion, remove the cone and place it upside down next to the concrete.
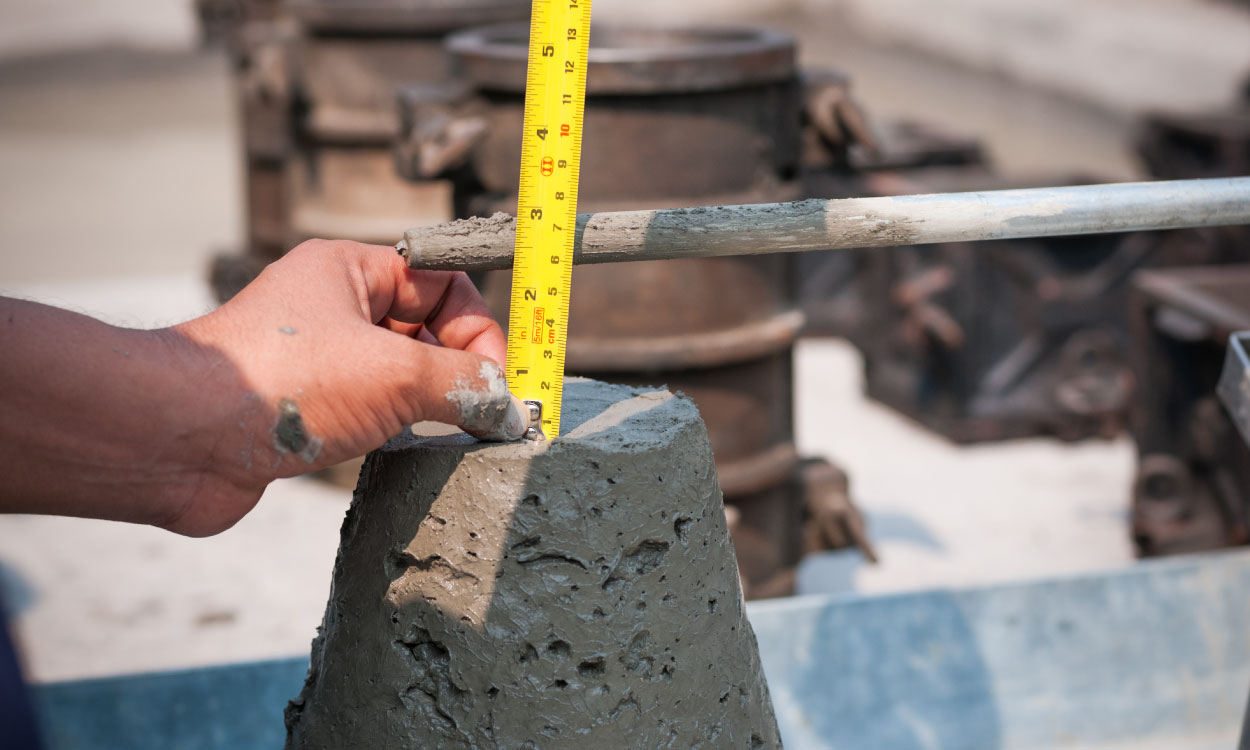
- The concrete will then subside, or slump. A steel rod is placed on top of the removed cone, pointing over the pile of concrete. This will show you how high the pile is in comparison to the cone.
- Observe the shape of the concrete and measure the slump by recording how far the top of the concrete is from the rod on top of the slump cone. Take measurements to the nearest 5mm.
Results of a concrete slump test
The results of the slump test will fall into one of these four categories, these are based on visual observations of the shape of the concrete after the slump cone is removed.
Zero slump
If the concrete does not move at all and stays completely the same once the cone is removed, then the mix is very dry. This sort of mix is usually best used for certain commercial projects like constructing roads.
True slump
The concrete stays in the shape of the cone, and sinks very slightly. This indicates that the mix is sticking together well and isn’t too fluid.
Shear slump
When the cone of concrete leans to one side, because the top half has sunk dramatically, this indicates that the mix has too much water and is not sticking together. Amend the ratio of water to cement and retest.
Collapse slump
If the concrete collapses completely and doesn’t keep any shape then the ratio of water to cement is too high, the mix will need to be completely adjusted.
Classes of concrete slumps and slump ranges
In addition to visual observations on the shape of the concrete, standardised measurements have been introduced to classify a concrete slump range, according to European standards (BS 8500). The slump ranges are based on the measurement between the top of the slump cone and the slumped concrete.
| CLASS | SLUMP RANGE | TARGET SLUMP |
|---|---|---|
| S1 | 10 – 40 | 20 |
| S2 | 50 – 90 | 70 |
| S3 | 100 – 150 | 130 |
| S4 | 160 – 210 | 180 |
| S5 | 210 – N/A | 220 |
Each class, from S1 to S5 shows a target slump value. These indicate the consistency of the concrete and show if it is suitable for a particular application. If the slump test shows that the concrete is not the correct consistency for the intended use, the mix will need to be amended and remixed.
Conclusion
A concrete slump test ensures not only that a mix is fit for purpose, but that multiple batches are made to the same standards. Ensure you have the exact type of concrete and the right strength you need by utilising a expert concrete company.

