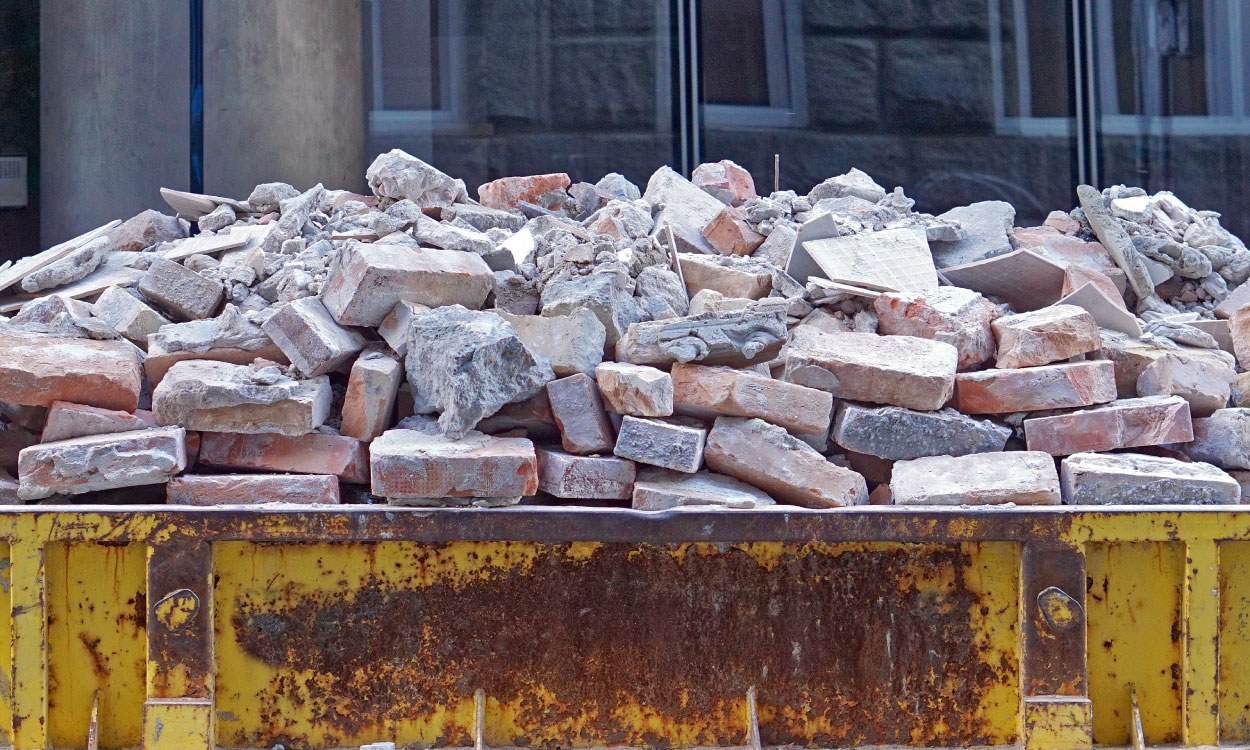
How To Fill A Skip Like A Pro
Finding out how to fill a skip efficiently can really make a difference when it comes to making sure you deal with waste in the most appropriate and cost-effective way. Overfilling a skip can be an expensive error, both in penalty charges and in labour required when trying to reorganise a badly loaded skip. The risks of overloading a skip aren’t just related to your budget, it can also create a potential risk to the health and safety of the general public and anyone working on your project.
Knowing how to load a skip properly is something we recommend all customers familiarise themselves with, just plan ahead and follow some simple steps, it’s easy when you know how – it’s also quite satisfying, like a giant game of Tetris!

How To Fill A Skip – Five Easy Steps
Before you start, make sure you know what you can put in a skip and what might need to be disposed of elsewhere. We’ve produced an extra guide to white goods and old furniture disposal, to help you understand how to get rid of some common household items.
You also need to work out what size skip will be most suitable for your needs, whether that’s for a small domestic clear-out or a large commercial project.
Step One – Organise waste into categories
The first step is spending a short amount of time doing some important planning and preparation. This could save you time and money in the long run. Sort your items into four categories before loading them into your skip, these categories are:
- Flat items (e.g. sheet materials, cardboard and wood)
- Tessellating objects that fit together (e.g. bricks or tiles)
- Bulky or large items
- Loose debris (gravel, sand and soil)
When trying to learn how to load a skip like a pro, dividing items into these categories will help you layer everything as efficiently as possible.
Remember
Thinking back to the Tetris reference, the fewer empty spaces you can have between your items in the skip, the more space you’ll be able to use. It’s a good idea to also break down larger items so they are as small as possible.
Step Two – Add flat items
Now it’s time to start filling your skip. The first things to load into your skip will be flat items that can be placed on the bottom, or down the sides before adding anything else. Flattened cardboard boxes, sheets of material and pieces of wood are all examples of flat items that should be added to the bottom of your skip first.
By placing flat items at the bottom of your skip you can make the best use of the space, the materials will also be flattened down further by any items added on top.
Step three – Add tessellating items
Here’s the part that really feels like a game of Tetris. Any objects that can tessellate (meaning they fit together without gaps or overlapping) should be part of the next layer in your skip. If you can create a flat surface by fitting or stacking objects together, you’ll be able to maximise the space you have available.
You can also leave gaps for other items to fit into if you don’t quite have enough tessellating objects to create a flat surface. This might seem like extra effort, but loading a skip correctly can really make the difference to you having the right amount of space to hold all of your waste.
Step four – Add bulky and large items
The next items to be added to your skip are the bulky or large items, although make sure you break these down into smaller parts first if possible. The best way to load a skip is to place larger items as carefully as possible, so you can still use any empty space around them. The fewer gaps between the items the better, and if you see a gap try to fill it with something the right shape and size.
An old storage cupboard for example, if you can’t flatten it down completely you will be left with an empty void inside it, fill that with smaller objects or other parts of a dismantled piece of furniture.
Step five – Finally, add any loose debris
This final step is key to learning how to fill a skip properly and will help you to use as much of the available space in your skip as possible. Once everything else has been loaded, you’ll finish by adding loose debris to fill all the gaps. Whether that’s sand, gravel or even soil, you can add loose debris last letting it settle into the remaining space between other items.
Often at the end of a project, you are left with smaller items to dispose of that have been forgotten along the way. If you can crush them and fit them into smaller gaps, you’ll be able to maximise the amount of waste you can get rid of.
Once your skip has been filled it will be taken away to a specialist facility where any recyclable materials will be removed and processed, the remaining waste will then be disposed of appropriately. If you take a little extra time to learn the best way to load a skip, you can save yourself money and ensure all your waste fits perfectly, without the need to reorganise, or having to hire an additional skip.
Reminder
Don’t be tempted to overfill your skip, you can read about the risks of overloading a skip in our dedicated article. If waste is hanging out of your skip, or has been added over the maximum fill line you may incur penalty fees. There is also a possibility that your skip will not be taken away until the overhanging waste is removed.

