How to Create a Mosaic Patio
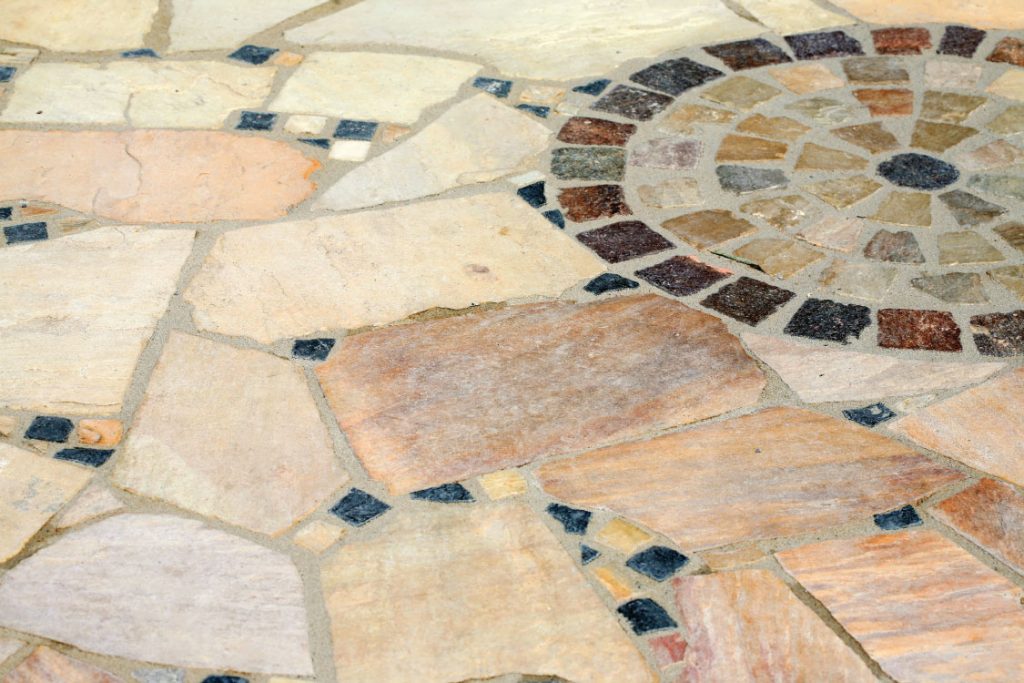
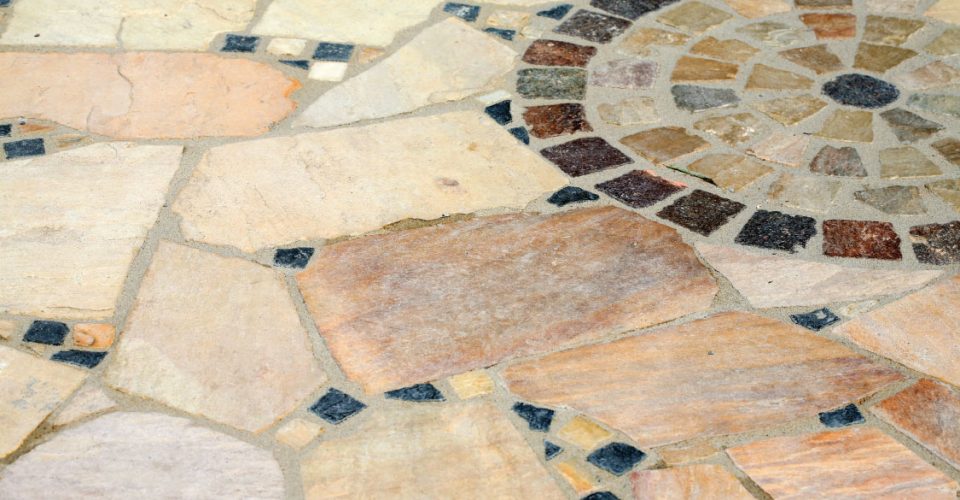
There is nothing quite like sitting out on your patio on a summer day enjoying a nice long drink and just relaxing, and that enjoyment can be further enhanced if you have just finished your work of art and are taking in the sight of a delightful mosaic patio.

Preparation
This in many ways is the most important part of the whole project because if you fail to prepare the area properly you will simply not achieve the look and finish that you are looking for.
First task is to use chalk or a spray gun and mark out the designated area where your patio is going to be laid and then dig a trench which is somewhere between one and two inches deep where the metal edging that you need is going to be installed.
Laying the Edging
This task will be much easier with two pairs of hands and if you have some help ask them to hold each metal stake in place while you drive the stakes through their slot using a block of wood to protect the edging from being scratched.
Excavation
Once you have the outline border in place and secure you should then proceed to excavate the soil inside of the border to a depth of about two inches using a square shovel or even a rototiller to break it up and then the shovel to level it out at the end.
Laying a Foundation
A good foundation or base is critical for the laying of the patio stones and using the right base will also ensure that you achieve good drainage as well as a long term maintenance free patio at the end of the job. A good base will be achieved by using decomposed granite and you should spread this over s small section at a time to a depth of about an inch.
Laying your Patio
Choosing the right starting point for laying your patio is essential to a good finish and for making the task of laying a whole lot easier.
You should use the edging as a guide and start with a piece of paving that has a straight edge to it which you should work into the base gently working it from side to side until it sits flush with your edging and appears level.
Repeat the process working your way across the space using the same philosophy as putting the pieces of a jigsaw puzzle together.
Filling in the Spaces
Once you have all your stones laid and as secure as you can get them to the base you then need to fill in the cracks. Start by spreading the remainder of the decomposed granite over the whole patio area and then using a broom or brush to sweep it into the cracks.
Any large cracks can be filled with mortar or maybe even some decorative pebbles and using a rubber mallet, gently pound the pebbles so that they are secure.
Once you have completed your laying of the patio and all the cracks have been filled you should hose the entire area down which will activate the mortar and help to compact the granite. You may have to repeat the process a couple of times and add a little bit more granite in areas that look a little loose or sparse.
You can then sit back and take well earned refreshment and admire your beautiful new patio. Alternatively you could just hire a professional tradesmen and let them do the heavy lifting.

