How to Build a Green Wall for Your Home
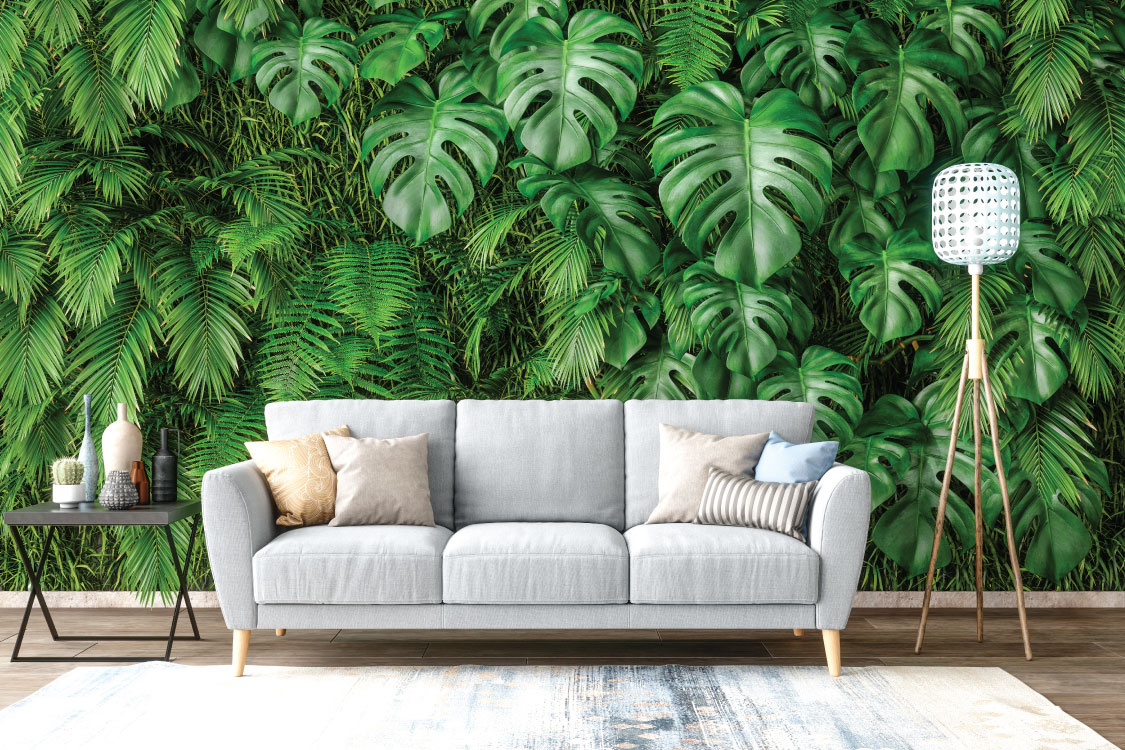
Green walls or “living walls” have become a bit of a phenomenon as of late. Once regarded simply as fixtures of institutional eco-art, these plant-covered walls are growing increasingly popular among homeowners looking to cut back on their power bill. Not only do green walls make an excellent conversation piece, they also provide a natural means of insulating room from the cold.
Recently, my husband and I constructed our own green wall for our den. The project was easy and affordable and took us less than a week to complete from start-to-finish. Here’s a rundown of what we did and what materials we used so that you can construct a living wall for your home.

Materials List
For the Frame: 1” x 3” FSC Cedar Strips.
For the Surface: 10mm Corrugated Polyethylene Plastic Sheets.
For the Plants: Two 3/16” Thick Moisture Retention Mats (MRM14).
For the Water Basin: Any Plastic Basins or Troughs from Your Local Home Improvement Store.
Extras: Staple Gun and Rust-Proof (Not Rust Resistant!) 12mm staples. We used Arrow staples but any other brand of rust-proof staple should do nicely.
Plants: Any Perennial Wildflowers, Ferns or Grasses of Your Choosing. We went with Christmas Ferns and Blue-Eyed Grass, but you can select any low-maintenance plant you’d like. Here is a list of ideal green wall fauna that you might want to investigate.
Construction
The first thing you need to do is to figure out how large you’d like your green wall to be. Some homeowners prefer to install a series of smaller boxes with several dozen plants while others have covered their walls with over 2,000 individual plants. Keep in mind that the larger your green wall is, the higher your budget will be and the more time you will need to spend tending the plants. We went with a 4’ x 6’ box for our wall.
Once you’ve got the size of your green wall planned out, you need to pick an ideal location to install it. Look for a spot that has studs to hang the heavy planter boxes and that has enough sunlight for the plants to thrive. Measure and drill pilot holes and then you can begin your installation.
1) Attach the cedar base boards for the planter directly to your wall using #10 x2 ¼” wood screws. Add fasteners as needed for additional support.
2) Staple your corrugated plastic to the frame with the rust-proof staples.
3) Staple the two layers of MRM to the plastic.
4) Cut slits into the top layer of MRM where you plan to place the plants. Ideally, these slits should be five inches wide and spaced in a staggered formation at least two inches apart horizontally and four inches apart vertically. Be careful not to penetrate the lower layer of MRM.
5) Place your plants into these slits and fill with some potting soil.
6) Staple below and to the sides of the plants to form a pocket that will keep the plant safe and allow it to retain water.
7) Repeat this process until your wall is covered with plants.
8) Attach your basins or troughs to the bottom of the wall in such a way that they will catch all the water runoff.
9) At this point, you can attach side slats and a baseboard to the green wall to form a “planter box” effect, as seen in the included picture. However, this is entirely up to you.
10) Sit back and enjoy your awesome new green wall.
Maintenance
At this point, you simply need to maintain your green wall as you would any other garden. Water it daily and treat it every so often with liquid fertilizer like Miracle-Gro to give your plants the nutrition that MRM lacks.
Depending on which kind of plants you’ve chosen to include in the wall, you might also want to have your house’s heating system checked out as well. Some plants are finicky and require the room to be kept at a certain temperature to thrive. It might help to invest in digital thermostats for your home so that you can maintain a temperature that’s best for both the green wall and your power bill.
Though the rudimentary maintenance a green wall requires might seem like a chore, rest assured that the benefits you’ll enjoy with all of those plants in your home will outweigh the time they require of you. Not only are these walls aesthetically pleasing, but they also help insulate the room by absorbing sunlight. Additionally, they will improve the air quality in your home by naturally filtering out contaminants such as carbon monoxide, benzene, VOCs and more.
Conclusion
Green walls make a great, eco-friendly addition to any home. Whether you want to add something beautiful and green to your house or you simply want to cut back on your energy bill, there are plenty of reasons why you should start installing one of these living walls in your house today. They’re affordable, they’re easy to build and they’re a great way to give back to the environment.

