How to Cover Artex Without Plastering
So, you’ve got this Artex stuff on your walls or ceilings, and it’s not quite jiving with your style? No worries, we’ve got your back. In this guide, we’ll spill the beans on how to transform those textured surfaces into something sleek and modern, all without the headache of plastering.

Getting to Know Artex
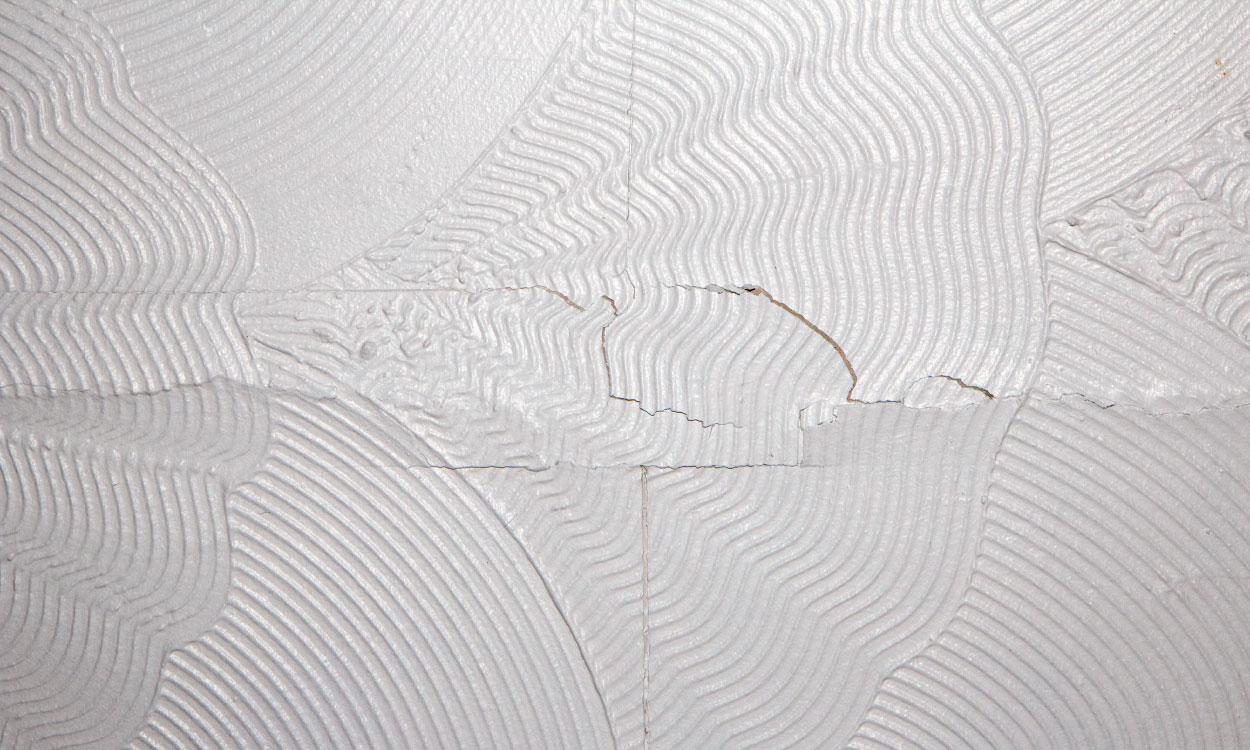
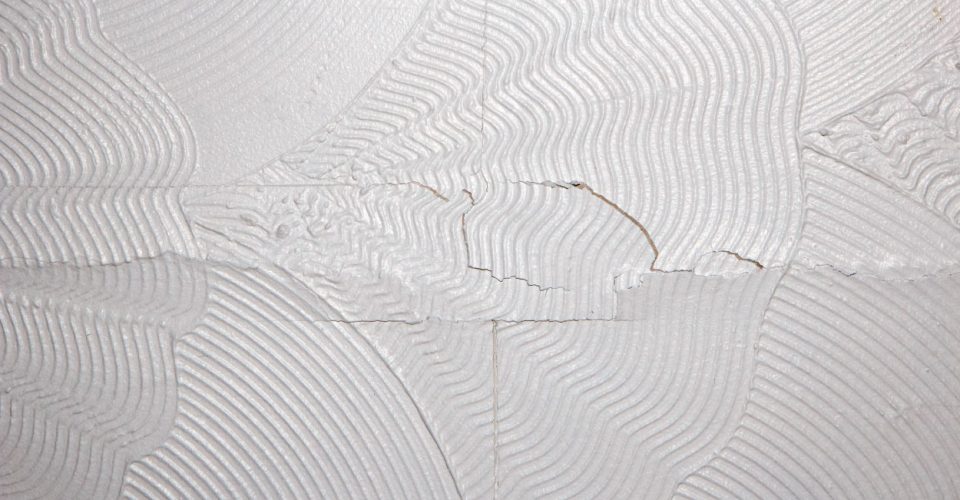
Before we dive into the nitty-gritty of hiding your Artex, let’s take a moment to understand what it is and why it can be a pain to deal with. Artex is like a textured finish that was pretty trendy back in the mid-1900s. It’s created by doing a fancy technique called stippling or combing, which leaves your surfaces with this raised pattern thing going on. Over time, this texture can be prone to crumbling and wearing away, which is why so many people opt to follow the steps below to resurface the wall, without having to rep-laster absolutely every single square inch.
Fast forward a few decades and lots of folks aren’t vibing with the whole Artex look anymore. Now, you might think about completely getting rid of it, but trust us, that’s a whole can of worms. It usually involves scraping, sanding, and re-plastering, and it’s a real mess. Luckily, there are simpler ways to give your Artex a facelift. From removing the previous layer entirely to repairing, levelling and then resurfacing with fresh Artex – your options are almost endless and if you play your cards right, the end result could be far superior to whatever was previously there.
Prepping Your Artex Surface
Before you start any makeover, you’ve got to get your surface ready. Think of it like prepping a canvas before painting. The more time you spend ensuring that the surface in question has been properly prepared, the better the results can be. Although Artex is a very forgiving substance, it can be prone to issues when applied to surface areas that are oily, uneven, or that have the leftovers of a previous project.
It’s also not uncommon for some surfaces to contain a potentially hazardous material known as asbestos (chrysotile), which if breathed in can lead to all sorts of worry some medical conditions that could affect your lungs, heart, and even blood. To avoid this, it’s a good idea to invest in an asbestos testing kit and few asbestos bags, which can be put to good use as you remove any previously applied Artex to pave the way for a fresh coat.
It is important to note that asbestos is indeed dangerous and although in the past contractors weren’t fully aware of its negative impact on human (and pet) health, it was still widely used throughout buildings and homes and as a result, is far more common than many people realize.
Here are the steps to help you along the way:
1. Clean It Up
First things first, give your Artex surface a good cleaning. Dust, dirt, and grease can mess up your new finish. So, grab some warm water and mild detergent, scrub it down, rinse it off, and let it dry completely.
2. Sand It Smooth
Now, take some medium-grit sandpaper, around 120 to 150 grit, and give your Artex a gentle sanding. You’re not trying to obliterate it, just make it a bit rougher so the new stuff sticks.
3. Fix Any Boo-Boos
Check your Artex for cracks, holes, or any other blemishes. If you find any, patch ’em up with some filler, smooth it out, and let it dry. Once it’s dry, give it a sand to make it flush with the rest of the surface.
Choosing Your Cover-Up Material
Now comes the fun part – picking out the new look for your walls or ceiling. There are a few options to consider:
Wall Liner or Lining Paper
Wall liner or lining paper is like a chameleon for your walls. It comes in different textures and thicknesses, so you can get creative. Here’s how you use it:
- Measure your surface and cut the liner to fit, leaving a bit extra for trimming.
- Slap some adhesive on the back, just like the instructions say.
- Smooth it onto your Artex, making sure there are no bubbles or wrinkles.
- Trim the excess, and once the glue’s dry, you can paint or wallpaper it however you like.
Skim Coating
Skim coating is like giving your Artex a spa day. You spread a thin layer of joint compound or plaster to get that smooth finish. Here’s the lowdown:
- Mix your compound or plaster according to the instructions.
- Spread a thin, even layer over your Artex with a trowel or broad knife.
- Let the first layer dry, then give it a light sanding to get rid of any imperfections.
- Apply a second layer, a bit thicker this time, and repeat the dry-sand-dry-sand dance until you’ve got a smooth surface.
- Once it’s all dry, you can paint or wallpaper to your heart’s content.
Textured Paint
If you don’t want to go full smooth, textured paint’s your jam. You can get different textures like stipple or sand, and it’s easy to use:
- Find the textured paint that suits your style.
- Slap it on your Artex with a roller or brush.
- Let the first coat dry, and if you need more, add ’em until it looks just right.
- Once it’s all dry, you can even customise it with regular paint in your favourite colour.
The Finishing Touches
No makeover is complete without the finishing touches. Here’s what to do:
Prime Before Painting
If you’re going for paint, make sure to use primer first. It helps the paint stick and gives you a smooth finish. Just follow the primer’s instructions.
Pick the Perfect Paint or Wallpaper
Choose paint or wallpaper that’s your style. Think about colors, patterns, and textures that’ll make your space pop.
Call in the Pros
Now, while this is all doable as a DIY project, if you’re not feeling super confident or your Artex situation is extra tricky, consider calling in a pro. They can make sure everything looks ace and save you some time and potential headaches.
A Few Final Thoughts
Dealing with Artex doesn’t have to mean a full-scale renovation. By prepping your surface and picking the right covering material, you can transform your textured walls or ceilings into sleek, modern beauties. Whether it’s wall liner, skim coating, or textured paint, the key is in the prep work and paying attention to the details. So, roll up your sleeves, and let your inner designer shine. Your Artex can totally be your canvas!

