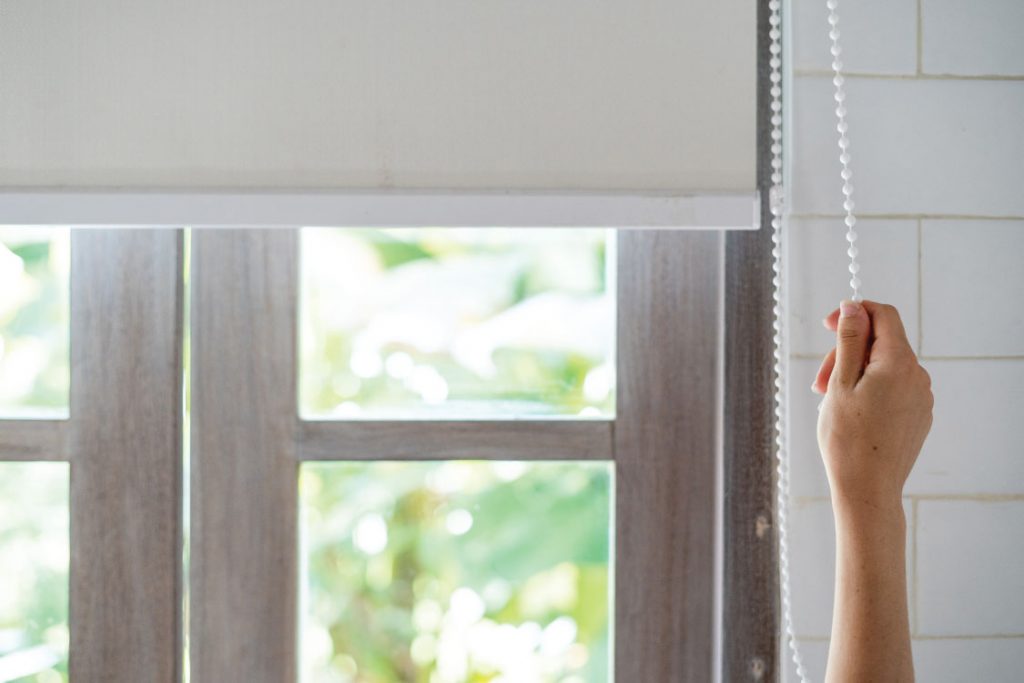
How to Install a Roller Blind
As a hugely popular blind, roller blinds are simple, easy to use and striking – no matter what your décor. The roller wheel and pulling cord makes for effortless operation, and they can really add the finishing touch to any room.
They’re also incredibly versatile, and there are a wide range of fabric options available for roller blinds, as well as a variety of colour, pattern and design choices, so there’s always something available to suit your tastes and budget.
Of course, once you’ve chosen your perfect roller blind, you’ll need to fit it, and there are certain steps you must follow to ensure that your blind is fitted securely so that you can continue to get the most out of it.

Measure Up for Your Blind
Whatever style of blind you choose, measuring your window is the most important step to take before you purchase your blind. You should accurately measure the height and width of the window – whether you intend to hang your blinds inside or outside the recess – so that you can buy a blind that fits perfectly. After all, an ill-fitting blind is not only unattractive, it also impacts how well it controls light and privacy. Please see our post on measuring for blinds for more tips.
Once you’ve measured, you’re ready to buy your blind!
Make your Mark
Once you have your blind, hold it up in the position you want it. This will allow you to see where and how your blind will hang, and will allow you to reposition should any window furniture impede its function. It’ll also help you ensure that your blind is level when it’s fitted!
You might need assistance here, as you’ll need to hold the blind in place and have someone view it from a few steps further back to see if it’s level and in the right place – ideally, it should be about 5cm (2 inches) above the top of the window.
When you’re satisfied with the blind’s position, mark where the top of the blind will sit using a pencil. Then, using the end brackets of the blind, mark where they will sit on either side of the window. This will be the marker for where you need to drill, so should be as accurate as possible (use your assistant again, if necessary).
Install the Brackets
By this stage, you should be happy with the position of the blind, and have the walls either side of your window marked and ready for action. It’s now time to fit the brackets and secure them to the wall.
Each roller blind comes with two brackets, one of which is attached to the scrolling cord. Screws should be fitted to the two brackets, and each should be drilled into the wall – in the specified place you marked out in step two – in turn. Should you need to, be sure to insert rawl plugs before fixing the brackets to the wall.
It’s best to fix the side with the chain or cord first, before rechecking your measurements and ensuring that your blind will be level once fitted. Follow the same process for the opposite side of the blind.
Fit your Blind into Position
Now that your brackets are level and securely in place, it’s time to fit your blind.
Carefully guide each end of the roller blind into the corresponding slot on the bracket. As when you were installing the brackets, be sure to fit the cord side first. When manoeuvring the opposite side of the blind into position, make sure that you keep the blind secure.
Once fitted, the spring should click into place, and the blind should close and open smoothly. Should you require it, ensure that the child cleat or bracket is securely fixed to the wall and that the operating cord is kept wound around it at all times.

