How to Lay a Concrete Path
Laying a concrete path is an exceptionally cost-effective way to add a hard-wearing walkway to your property. It is possible to make even a very standard path more attractive, and by familiarising yourself with some basic principles and following some simple steps, you could make this a DIY project. If you aren’t confident though, sometimes it’s just nice to know what the professionals are doing when they are making the magic happen!

Preparing the surface for laying concrete
Making way for a new path means clearing the area of existing structures and preparing the ground properly first. If you are replacing an existing path, you’ll also need to learn how to break up a concrete path and dispose of that before you get started.
Once you’ve decided where you want your path to be, use spray paint or string to mark out the area, stand back to make sure you are happy with the shape, direction and layout of your path. Remember, it’s much easier to adjust a piece of string, or spray some more paint than it is to dig up a badly planned concrete path and start again!
When you are happy with your plan, you’ll need to follow a few steps to prepare the ground:
- First, remove turf and weeds.
- Then, compact the ground by hand or with a machine to ensure it is even and stable. Don’t forget to excavate the depth required for your path, plus any thickness of your base material, which will be added next.
- Next, add your compacted gravel or crushed stone base material to ensure good drainage and a strong foundation for your concrete path.
- Finally, you’ll need to build a frame or “wooden concrete form” to contain the concrete being poured for your path.
Top tip!
Make sure your path is slightly sloped to allow rainwater to drain. If the site is already on a slope or hill then nature has done the hard work for you, but if the area is level make sure one side of the path is 10mm lower than the other to avoid creating areas for puddles to form.
Mixing or pouring your concrete
It’s the moment you’ve been waiting for, time to start getting your concrete ready to make your plans come to life and lay your concrete path.
Mixing concrete by hand
If mixing concrete by hand, make sure each batch is made in the same way, keep your mix consistent. Mixing by hand is usually done in very small batches in a wheelbarrow. Be sure to combine the mix thoroughly and don’t be tempted to make the mix too wet or too dry, it’s quite a fine balancing act to ensure the mix is just right.
Using a concrete mixer
To cut down on the manual labour required, you might wish to use a concrete mixer. This will help to combine the concrete well before pouring it into a wheelbarrow and transporting it to be poured into your wooden forms for the concrete path.
Using readymix concrete
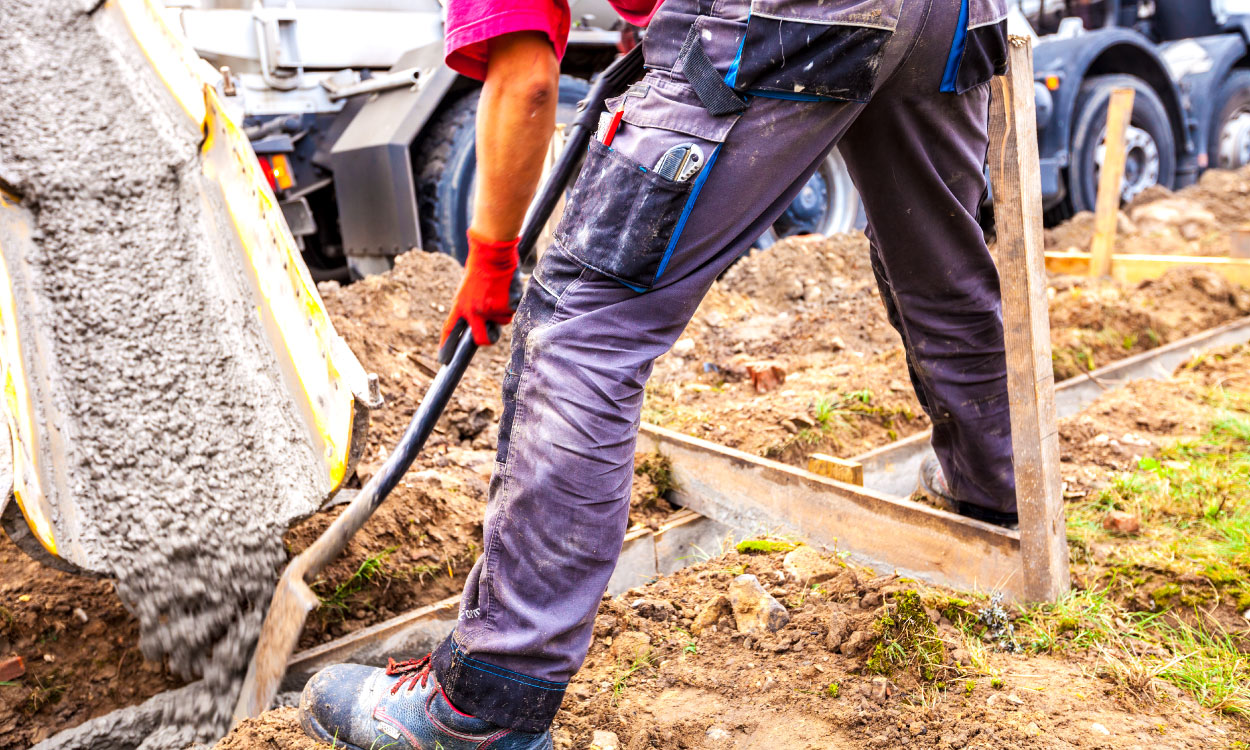
Using readymix concrete is a great way to ensure you have a consistent material to use for the whole length of your path. Our experts deliver the mix to your location and it can be poured directly to where it is needed by our specialist vehicles. Ordering volumetric concrete means you’ll receive exactly the amount required and won’t need to worry about any excess or mess.
Concrete mixes
Usually, the best mix for a concrete path is one part concrete to four parts 10mm aggregate. Or, you could use one part concrete, three parts 10mm aggregate and two parts sand.
Laying your concrete path
When your concrete mix is ready (whether mixed by hand, by mixer, or delivered by one of our specialist vehicles ready to be poured) you’ll need to start adding it to the formwork for your path. Fill the formwork carefully and make sure you get right into any corners and edges. Spreading the mix with a spade or rake and ensuring there are no air bubbles or voids will help to ensure your path stands the test of time.
To remove air bubbles from your concrete you’ll need to do what is called ‘tamping down’. This involves adding concrete so it is about 20mm proud of the edges of your formwork, then using a heavy board to push down into the concrete and evenly compact it. This removes air bubbles and pushes the concrete down so it binds to the sub base below it. You might need someone to help you, as this needs to be done quite firmly.
Ensure the concrete path has a non-slip surface by leaving slight ridges with the tamping board or adding a specialist decorative non-slip finish before the concrete cures. Make sure you protect the concrete path from frost, rain and particularly hot weather
Your new concrete path
With the proper skills and preparation laying a concrete path can be a long-lasting way to improve access to your outdoor space, and a well-executed project can even serve as an interesting design feature.

